
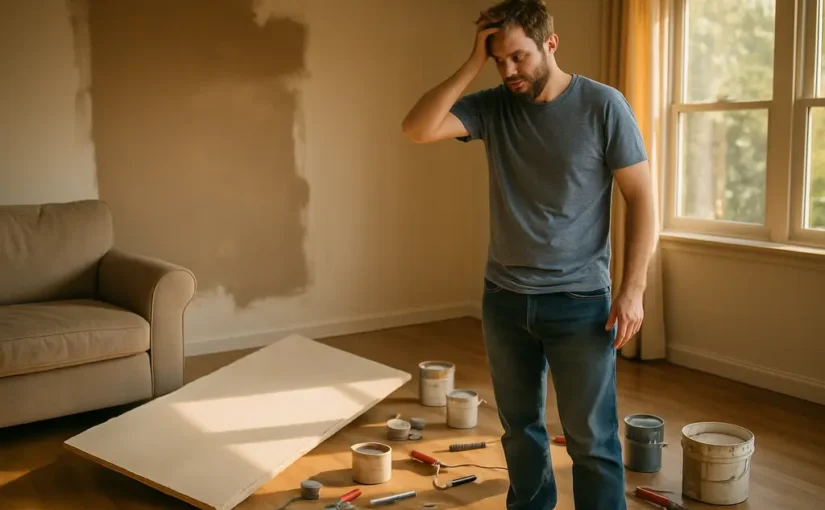
DIY Mistake Costs can turn an interior refresh from a weekend win into an expensive repair project. A July 2026 survey of 1,007 U.S. homeowners found that the average cost to fix or replace something after a DIY mistake was $1,852, and 58% said they spent more than they would have by hiring a professional or doing the job correctly the first time, according to a ConsumerAffairs report. That does not mean homeowners should avoid every hands-on task. It means the project plan needs to separate cosmetic work from work that can damage the house, create safety risks, or trigger expensive rework.
As an interior designer, I see the same pattern often: the visible task looks small, but the hidden conditions are not. Painting a bedroom is usually manageable with prep and patience. Replacing a vanity may expose water damage, out-of-level flooring, or plumbing connections that are outside a homeowner’s safe skill range. The cost problem is rarely just the wrong tile or the second gallon of paint. It is the chain reaction: wasted materials, delayed schedules, rush orders, contractor rescue work, and finishes that no longer align with the original design.
Why DIY Mistake Costs Change The Budget
DIY Mistake Costs In Real Numbers
The most useful lesson from the 2026 survey is that the repair bill was not symbolic. At $1,852 on average, a mistake could equal the full budget for a modest flooring update, a lighting refresh with professional installation, or a room of better-quality cabinetry hardware and paint. That number also helps explain why a “cheap” project can become emotionally frustrating. Once money is spent correcting errors, homeowners often have less left for the finish materials they actually care about.
Broader remodeling spending also shows why cost assumptions need care. In 2023, the average DIY home improvement project cost about $2,600, while professionally completed projects averaged about $7,800, according to Harvard’s housing report. That gap is real, but it does not prove DIY is always cheaper after errors, tool purchases, waste, and professional corrections are counted.
Why The Cheap Estimate Can Mislead
The practical lesson from DIY Mistake Costs is that a material-only estimate is incomplete. A homeowner may price peel-and-stick tile, paint, cabinet pulls, or a faucet and feel the budget is safe. The missing line items are usually less glamorous: surface repair, primer, blades, drill bits, dust control, disposal, patching compounds, delivery charges, and extra material for cuts or breakage. If a mistake damages nearby finishes, the repair may spread into rooms that were never part of the original plan.
Cost planning should also include the value of stopping early. If a wall cavity, water stain, loose subfloor, or questionable wiring appears during demolition, pausing is cheaper than guessing. For broader project triage, this site’s discussion of DIY versus professional repair is a useful companion because it frames the decision around risk, not pride.
Projects That Deserve A Professional
Safety Boundaries For Interior Remodels
Some projects are poor candidates for trial-and-error learning. Structural changes, electrical work, gas lines, major plumbing, and any work that may require permits should be evaluated by qualified professionals. This is not about discouraging capable homeowners. It is about recognizing that hidden systems do not forgive guesswork. A wall may appear decorative but still be load-bearing. A bathroom fan may look like a small swap but involve electrical connections, roof or wall venting, and moisture control. A plumbing change that seems minor can lead to leaks inside a cabinet or wall.
Hiring a professional for high-risk scopes can also protect the design outcome. Uneven floors, poorly placed outlets, and improper ventilation can limit material choices later. For example, a beautiful wallpaper is a poor investment in a bath with unresolved humidity problems. A stone counter is less satisfying if the cabinets below are not level. Safe construction and good design are linked.
Design Work That Is Reasonable To DIY
There are still many interior projects that fit a careful homeowner. Painting, simple hardware swaps, styling open shelving, installing removable window treatments, assembling freestanding furniture, and replacing decorative accessories can be good DIY candidates. Even then, the work deserves a written scope. Define the room, surfaces, products, start date, finish date, and stopping point. A small project becomes expensive when it expands without a decision.
For renters, reversibility matters. Removable wallpaper, plug-in lamps, freestanding storage, and area rugs can add character without altering building systems. For owners, the same principle applies to uncertainty: if the long-term renovation plan is unclear, avoid permanent changes that may be removed in a later remodel.
Budgeting Before Materials Are Ordered
Tools, Samples, And Waste
Tool costs are often left out of the first budget. A project may require more than a single screwdriver or paint roller, and the wrong tool can damage materials. Before buying, compare purchase, rental, and borrowing options. Check manufacturer instructions for blades, adhesives, fasteners, and cure times. For homeowners weighing tool categories and project scope, exploring High Pro Tools can be part of the early research, but tool selection should still follow the material manufacturer’s directions and basic safety requirements.
Samples are another low-cost defense. View paint, tile, flooring, and fabric in the actual room at different times of day. A finish that looks warm in a store may turn gray under cool lighting. A floor sample that looks calm in isolation may clash with existing cabinets. Ordering samples does not eliminate every risk, but it is much cheaper than removing installed material.
Decision Points Before Demolition
Before any tear-out, set decision points. Decide what discovery would stop the project: moisture, mold concerns, damaged subfloor, unusual wiring, cracked tile backing, or signs that previous work was poorly done. Write down who you will call if those issues appear. A clear pause rule reduces the temptation to cover a problem and hope it holds.
It also helps to budget in layers. Start with the visible finish budget, then add prep materials, tools, delivery, waste, and a reserve for corrections. The reserve is not permission to be careless; it is recognition that homes contain surprises. If the reserve is too small for the risk level, reduce the scope or hire help before work begins.
How To Limit Redos During Installation
Mockups And Measurement Checks
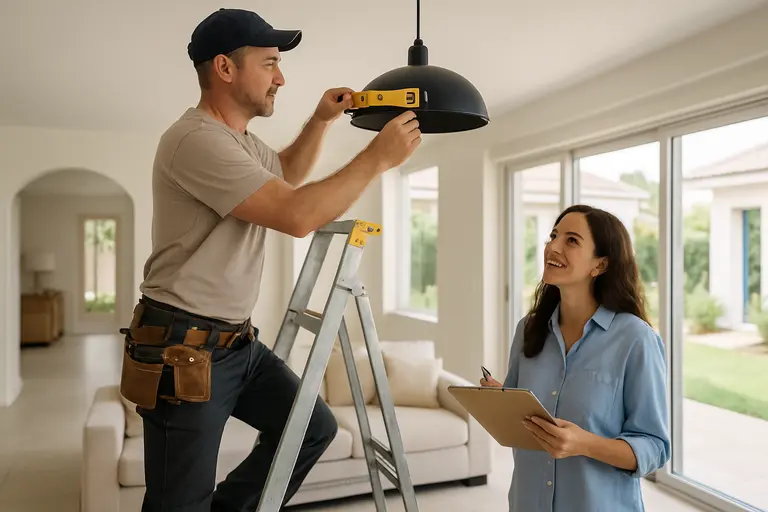
Many interior errors begin with measurement confidence. Measure rooms, openings, furniture paths, appliance clearances, and door swings more than once. For patterned tile, wallpaper, or paneling, create a small layout plan before installation. A dry layout on the floor can reveal awkward cuts before adhesive is involved. This is especially useful in older homes, where walls may not be square and floors may not be level.
Mockups do not need to be elaborate. A taped outline of a vanity, island, or sofa can show whether the room will still function. A sample board with paint, flooring, cabinet finish, and metal hardware can prevent a finish mismatch. These steps feel slow, but they are faster than removing work that looked good only in theory.
Scheduling Help Before Problems Grow
If you expect to need a professional for part of the project, contact that person before demolition. Contractors may not be available on short notice, and emergency scheduling can raise costs or delay the room for weeks. A planned handoff is usually cleaner than asking someone to repair half-finished work.
Documentation also matters. Keep product labels, batch numbers, receipts, installation instructions, and photos of conditions before they are covered. If a product fails or a professional needs to diagnose a problem, this record can save time. It also helps future maintenance, because the next repair is easier when you know what was installed.
Reducing DIY Mistake Costs Before Work Starts
A disciplined plan will not remove every risk, but it can keep DIY Mistake Costs from controlling the project. Start with a narrow scope, choose projects that match your tools and experience, and keep licensed trades involved where safety or building systems are affected. Spend time on samples, measurements, and prep before buying large quantities of finish material.
The best DIY work respects both the house and the homeowner’s limits. If the project is cosmetic, reversible, and well planned, doing it yourself can be satisfying and cost-aware. If the work touches structure, wiring, plumbing, gas, waterproofing, or code-sensitive areas, the wiser design decision is usually to pay for qualified help before damage occurs. That choice may not feel as dramatic as a fast room reveal, but it is far more likely to protect your budget, your safety, and the finished interior.